
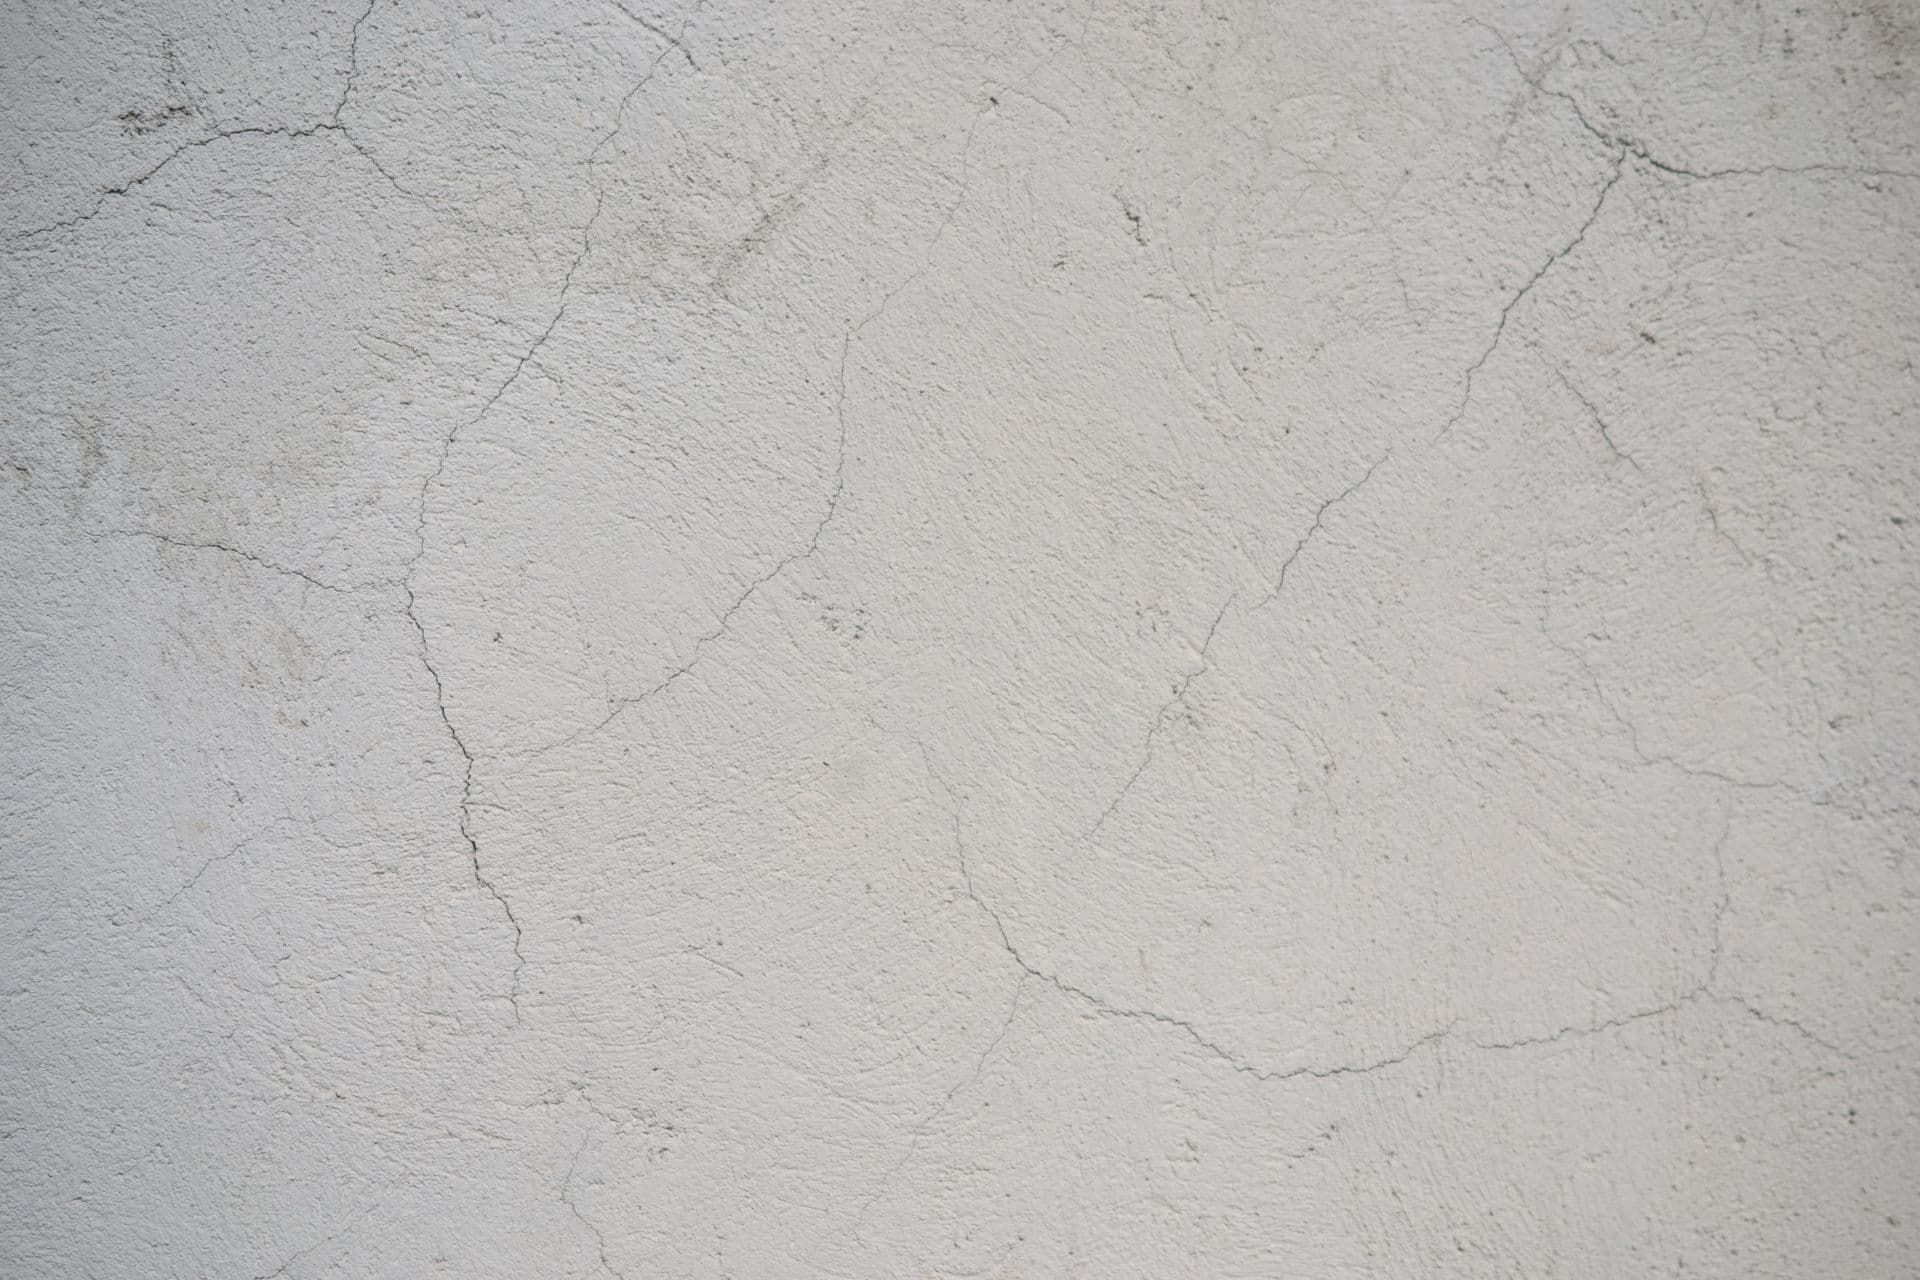
Fine cracks can make a recently decorated room look unfinished, especially when light falls across a smooth wall. Before asking for another coat of paint, establish what has cracked and whether the background is suitable for a surface repair. A narrow line may be confined to a finish, but its width alone cannot demonstrate that. Location, history, moisture and associated changes help determine what needs assessment before decorating proceeds.
For Johannesburg homeowners, the useful distinction is between a justified finish repair and a cosmetic treatment that conceals an unresolved problem. This guide concentrates on preparing plastered and painted surfaces once the relevant concerns have been considered. It does not offer a visual rule for declaring a building safe, and it does not assume that every local property has the same soils, construction or maintenance history.
1. Identify Which Layer Is Affected
A painted wall is an assembly rather than one material. There may be several paint layers over filler, a skim coat, plaster and masonry, or a board-based lining with treated joints. Cracking in the paint film differs from a crack in the plaster or underlying wall. An inspection should establish what can be seen and what remains uncertain. Naming the material helps the contractor choose an appropriate assessment and prevents every fine line from being described as a foundation crack.
Look at the surrounding surface from a safe position and record peeling, blistering, staining or areas that appear loose. Do not scrape deeply into the wall or remove material simply to test crack depth yourself. Targeted opening-up may sometimes be useful, but it should be planned with the possibility of concealed services and the condition of the background in mind. A photograph can document appearance; it cannot reliably establish which hidden layer has failed.
Also identify whether the line follows a known board joint, a junction between materials or the edge of an earlier patch. These locations may influence the repair detail, but they are clues rather than a diagnosis. The contractor should explain whether the proposal treats a paint defect, plaster repair or joint problem. A single generic item called fill cracks can conceal very different work and makes it difficult to compare quotations or understand why a previous repair returned.
2. Use the History, Not Just Today's Appearance
Record when the crack first became visible and what happened beforehand. Recent plastering, repainting, plumbing repairs or alterations may be relevant, but none automatically explains the defect. Fresh paint can reveal an older irregularity under different light, and a patched area can reappear because of movement or unsuitable preparation. Distinguish what is known from what is assumed. Information from a previous owner or contractor is useful when its source and uncertainty remain clear.
Comparison photographs help show whether a line is extending or reopening. Include the whole wall and a closer view, with a date and a recognisable location. Note changes in nearby openings, damp patches or similar defects on the opposite side of the wall. A consistent record is more useful than many unrelated close-ups. If an assessor recommends formal monitoring, ask how the observations will be interpreted and what should trigger an earlier review.
An apparently unchanged crack over a short period is not automatically cosmetic, just as a recurring crack does not automatically prove serious structural failure. The history needs to be considered with the affected material and the building's condition. Avoid accepting a rule based only on direction or a particular measured width. The appropriate outcome may be permission to proceed with surface repairs, a request for additional investigation or advice to address another defect before decorating.
3. Know When Decorating Should Pause
Rapid change, visibly unstable material or suspected structural distress needs prompt professional attention. Keep clear of falling or loose plaster, and do not stand beneath a ceiling that is sagging or separating. Water near electrical equipment introduces a further reason to exclude the area and arrange suitable help. A painter's appointment should not be used as the first safety assessment where these conditions are present, even if the original request was only to improve the room's appearance.
Less dramatic concerns can also justify pausing a finish repair. Cracks extending through several connected elements, new distortion around openings or repeated failure despite different surface treatments may need a wider investigation. These signs do not establish a cause on their own. Ask an appropriately qualified structural professional where structural performance is in question. Our foundation-crack assessment guide explains how to frame that brief without assuming the visible plaster line begins at the foundations.
Once additional advice has been obtained, make the next step explicit. The decorator should know which areas can proceed, which must remain visible and which depend on another repair or review. Any monitoring references should be preserved as instructed. This avoids a common coordination problem in which one provider requests observation while another covers the evidence as part of a general repaint. Clear limits also protect the owner from assuming that a decorative quotation includes structural investigation.
4. Understand Why the Plaster System Matters
Plaster and related finishing products are not interchangeable. Cement-based plaster, gypsum products, skim coats and board jointing materials have different uses and application requirements. Some defects relate to the finish itself, while others reflect its bond to the background or movement at a connection. Ask the contractor what material is present and why the proposed repair is compatible. The answer should concern the actual wall, not a preferred filler used automatically on every job.
Drying and curing are relevant but should not be reduced to a universal waiting period. Different materials need different conditions, and the thickness, background and exposure can affect preparation. Applying finishes before the selected system is ready may contribute to problems, while forcing drying is not a substitute for following the product requirements. For recent plasterwork, obtain the material information and discuss how readiness will be checked before proceeding with filling, priming or painting.
Junctions can introduce another source of movement because adjoining materials do not always behave identically. A repair across masonry and a different construction element may require a detail suited to that interface. The mere presence of a crack at such a junction does not tell the owner whether mesh, a joint treatment or another approach is correct. The specification should explain the intended function and acknowledge where building movement requires assessment beyond the surface finish.
5. Resolve Moisture Before Selecting the Finish
Dampness can affect plaster, fillers and coatings, but the pattern of damage does not identify the source by itself. A wall may be receiving rain, leakage from plumbing or moisture associated with condensation. Salt deposits and paint blisters provide information for an assessor but do not establish a particular damp diagnosis. Record when the area becomes wet and whether the defect follows weather or use of nearby services. That history helps direct the investigation before a repair material is chosen.
A surface treatment cannot stop a concealed pipe leak or correct every defective exterior detail. Where water entry is suspected, the waterproofing repair guide explains the need to trace the source and route. The plaster scope should identify which moisture repairs must happen first and who confirms their completion. Otherwise, a decorator can prepare a wall correctly within a limited brief while an unresolved source continues damaging the same area.
After source repairs, inspect the affected materials rather than assuming that drying alone restores them. Loose plaster, contaminated surfaces or damaged lining materials may need different treatment from sound but stained finishes. Ask how suitability for recoating will be assessed and what preparation the selected system requires. A wall that looks dry is not necessarily ready, while a remaining stain does not by itself prove continuing leakage. The decision should reflect the background's condition and the relevant product requirements.
6. Assess the Background Before Filling
A durable-looking patch depends on what remains beneath and around it. The contractor should assess adhesion, friable material, previous filler and surrounding coatings before deciding the preparation extent. A narrow visible line may sit within a larger unsound patch, while a small sound defect may need only local treatment. The quote should distinguish these possibilities and explain how additional loose material discovered during preparation will be reported and authorised, rather than silently expanding the job.
Removal and preparation methods should suit the material and the building. Older or unidentified coatings and linings may need assessment before dusty or destructive work is undertaken. Concealed services also affect where tools can be used. This is not a reason to strip every wall automatically; it is a reason to choose the method deliberately. Ask about protecting occupants, controlling dust and keeping adjacent finishes clean, especially where the room remains in use during the work.
Preparation may reveal that the initially visible defect is only part of the problem. The contractor should stop and explain findings that change the agreed scope, particularly if cracking extends into the background or substantial detachment is found. A new diagnosis should not be improvised merely to keep painting on schedule. Record the exposed condition and obtain the relevant advice. Proceeding with a surface repair remains appropriate only when the background and unresolved concerns support that decision.
7. Match Fillers, Joint Treatments and Reinforcement
Different products serve different functions. A material intended for a stable plaster defect may not suit a movement joint, an external wall or a board joint. Some fillers are designed for sanding and fine finishing, while certain flexible products behave differently under paint. Ask for the proposed material and its compatibility with the substrate, exposure and finish. The label flexible is not evidence that a product can accommodate whatever movement the building is experiencing.
Reinforcement or mesh may form part of a specified plaster or joint repair, but it is not a universal structural solution. Its purpose, location and compatibility need to be understood within the repair system. Likewise, an existing movement joint should not simply disappear beneath filler and paint. If a joint is thought to need redesign or relocation, that is a separate technical question. A decorator's surface treatment should not quietly alter a detail whose function has not been established.
Product instructions should guide preparation, application limits and the time or conditions required before subsequent finishes. Ask how the repaired area will be brought to the surrounding plane and texture without leaving a raised strip. More material does not automatically make a better repair, and a heavy local patch can be conspicuous even when it remains intact. A sample area can help agree an achievable finish, particularly on smooth walls viewed in strong side lighting.
8. Agree How Much of the Wall Will Be Painted
Repairing a crack and making the wall look consistent are related but separate tasks. A filled patch can differ in texture, absorption, colour or sheen from surrounding paint. Even retained paint of the same named colour may not match an aged surface perfectly. Discuss whether the quotation covers spot decoration, a complete wall or a wider room finish. The appropriate extent depends on the existing coating, lighting and the visual result the owner wants to achieve.
Lighting should inform expectations without becoming an excuse for poor workmanship. Strong side light can make minor surface variation more visible than normal viewing conditions. Agree how the completed finish will be reviewed and whether a trial patch is worthwhile. A highly smooth or reflective finish can reveal preparation differences that a different coating appearance may disguise, but changing paint is not a substitute for repairing an unsuitable background. The specification should keep those decisions distinct.
Construction Joburg's interior painting service can be discussed with the assessment findings, preparation extent and decorating boundaries in hand. Include adjacent skirtings, frames and fittings in the protection plan, even if they are not being repainted. Clarify whether furniture movement, access and final cleaning are included. These details turn a vague promise to make cracks disappear into an identifiable scope with a finish that can be assessed against the agreed work rather than an undefined expectation.
9. Compare a Hypothetical Recurring Patch
Imagine a hypothetical living room where a fine line returns along the edge of an earlier plaster repair. The owner requests a stronger filler and repainting. An assessment first considers whether the existing patch is sound, whether the line follows a construction junction and whether moisture or other building changes are present. The fact that the mark returned does not select the new product. Its relationship to the repair and background is what the provider needs to understand.
Suppose the area is assessed as suitable for a surface repair, but the earlier patch has poor adhesion and a noticeably different texture. A revised quotation could include removal of unsound material, a compatible repair, preparation and repainting of the full wall. Another quotation might include only filling the visible line and touching up the paint. Comparing the totals without comparing these scopes would hide the difference in both preparation and expected appearance.
Alternatively, if the investigation finds an unresolved movement concern, neither decorative proposal should be treated as the complete answer. Further assessment would come first, with the room's protection and use considered while decisions are made. The example illustrates a decision sequence rather than a diagnosis. A useful contractor explains what is known, what the repair is intended to achieve and what would cause the work to pause, instead of promising that a different filler guarantees the crack will never return.
10. Inspect the Finish and Respond Sensibly to Recurrence
Review the work against the agreed scope once the finishing system has reached the appropriate condition for inspection. Check the preparation and finish evidence supplied, the appearance of repaired areas and the treatment of edges and adjacent surfaces. Discuss concerns while the location and materials are still clear to everyone involved. A decorative handover should confirm the work performed and any limitations; it should not imply a structural sign-off simply because no crack is visible through the fresh paint.
External plaster repairs need the same clarity about background, exposure and finish, with safe access arranged for elevated areas. Where suitable, exterior painting can follow assessed repairs and the relevant preparation. Retain product names, colour information, photographs and the locations of treated defects. These records help a later provider distinguish a newly appearing mark from recurrence at an earlier patch, and avoid applying incompatible material over a repair whose composition is otherwise unknown.
If cracking returns, record when and where rather than immediately ordering another identical patch. A finishing defect, unresolved moisture or movement may require different responses. Share the earlier assessment and scope so the next review begins with the actual history. The aim is neither to alarm owners about every fine line nor to dismiss them all as normal. It is to establish a suitable background, choose a justified repair and judge the result within clear, evidence-based limits.